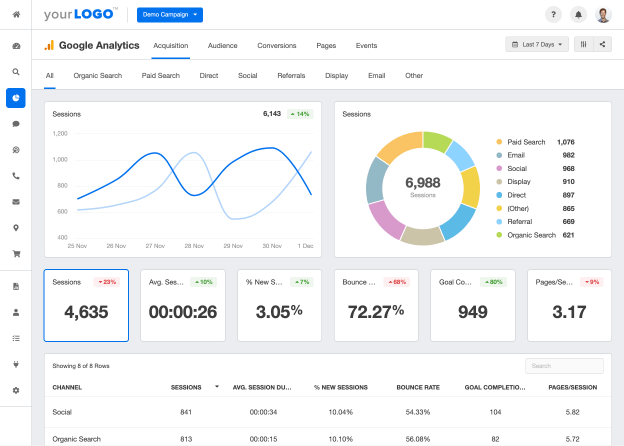
Find the user’s most popular products on your website, and use Google Analytics to track these best-selling products will help us make better marketing decisions.
When we discover which products are the most profitable and popular, we are able to make smarter decisions, maximize sales and increase revenue.
Step 1: Install and Set Up the MonsterInsights Ecommerce Plugin
To track product sales on your online store in just a few clicks, first you need to get the MonsterInsights eCommerce plugin.
Find the “Insights” plugin from your WordPress dashboard menu and navigate to the MonsterInsights eCommerce plugin.
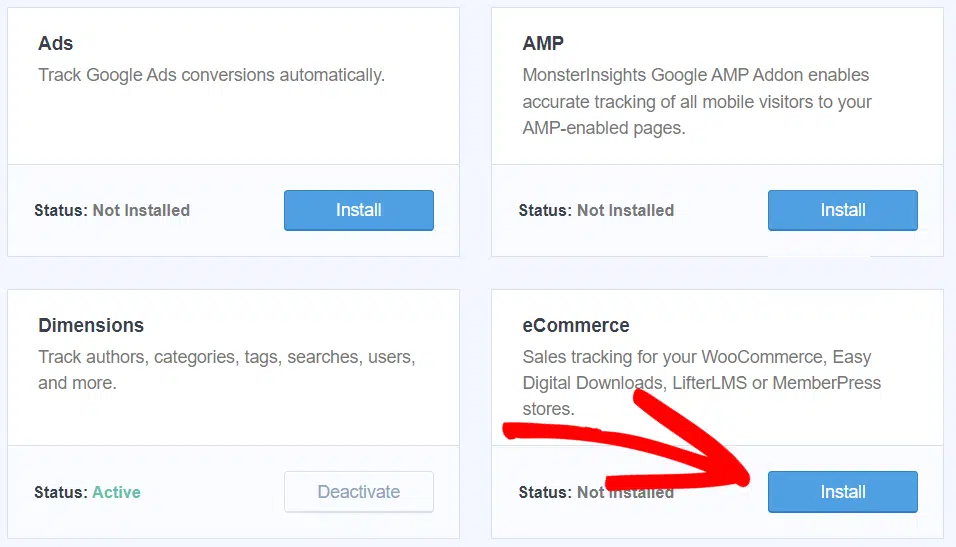
Then, click the Install button. The plugin will automatically activate and you should see the plugin status change to Active.
Step 2: In Google Enable Ecommerce Tracking in Analytics
After installing the eCommerce plugin in MonsterInsights, the next step is to enable eCommerce tracking and reporting in Google Analytics.
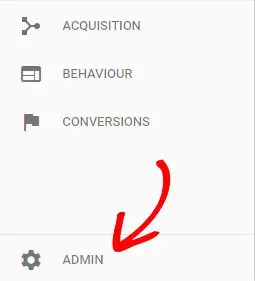
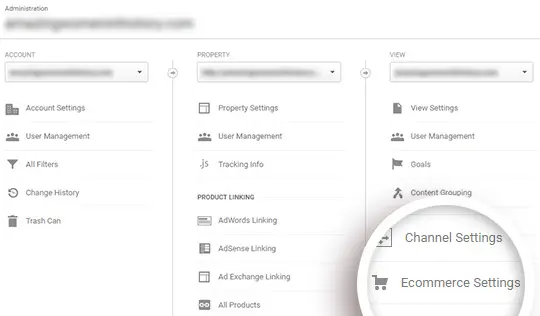
Log in to your Google Analytics account and navigate to Admin on the left menu bar. Then, click View Admin Settings.
 I
I
You can now click on “Ecommerce Settings” under the “View” column on the right.
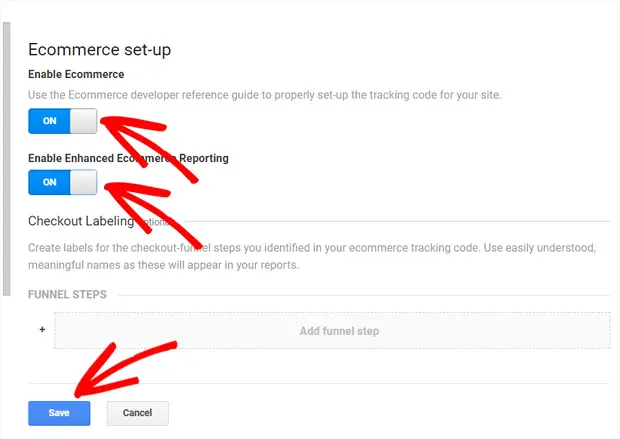
Next, click the sliders under “Enable Ecommerce” and “Enable Enhanced Ecommerce Reporting” to turn them both on.
 Im
Im
Then, click the Save button. Having successfully enabled Google Analytics Ecommerce Tracking, let’s move on to the next step.
Step 3: Enable Enhanced Ecommerce in MonsterInsights
Go to your WordPress Dashboard, click on the “Insights” setting. Then, navigate to the Ecommerce tab to review your ecommerce settings.
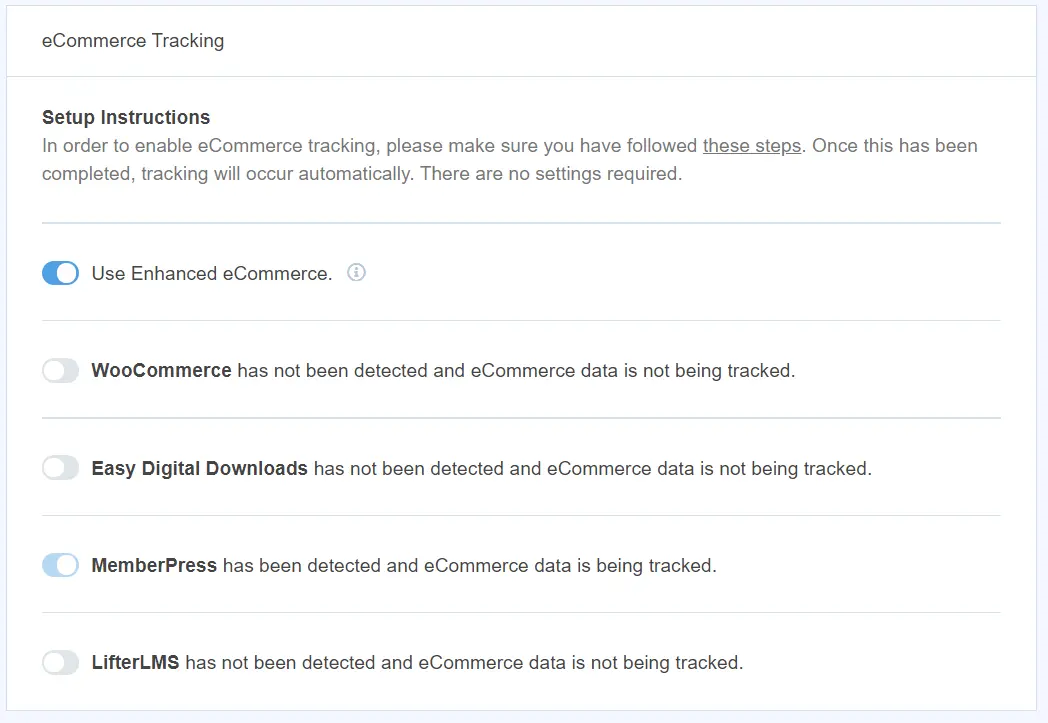
Turn on the Use Enhanced Ecommerce switch to allow the plugin to collect more detailed ecommerce reports.
Step 4: View Top Selling Products on Your WordPress Dashboard
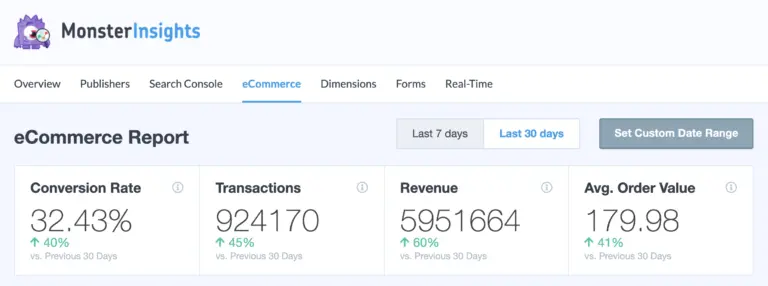
Now that you have ecommerce tracking set up, you can view ecommerce reports in GoogleAnalytics. To see your most popular products, total sales, conversion rate, and other ecommerce reports, visit the Insights report from your WordPress dashboard. Then, click the Ecommerce tab at the top.
