
Do you know about Shopify?
Shopify is widely regarded as the best all-in-one eCommerce platform, allowing you to create an online store, manage inventory, and process orders from just one dashboard.
◆ Shopify has three packages to choose from
1. Basic Shopify costs $29 per month and is great for new businesses or those that only sell in-person occasionally.
2. Standard Shopify costs $79 per month and is best for growing businesses with a single retail location.
3. Advanced Shopify costs $299 per month and is suitable for growing businesses with two or more retail locations.
Shopify also offers businesses a 14-day free trial to get up to speed quickly before fully using the Shopify platform, and you don’t need to provide any billing information to try it out.
How to Create an Online Store Using Shopify
Signing up for Shopify is easy and requires only an email address.
◆ Step 1: Sign up for Shopify
Signing up for an account is the first step in setting up a Shopify store.

Log into the Shopify website and enter the required details, then click Start Free Trial.
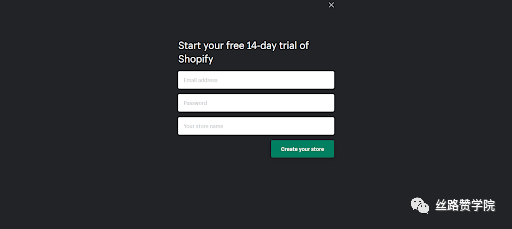
When registering, you need to enter your commonly used email address, password and unique store name . Click Create Store to complete the registration.
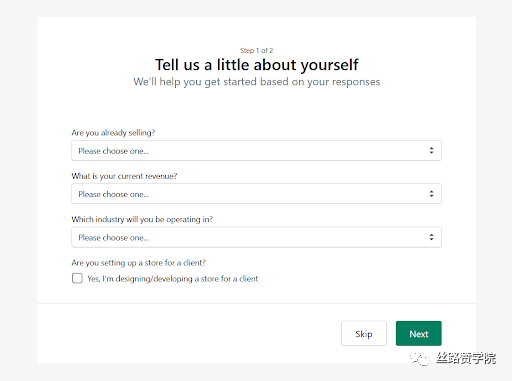
Next, there will be a simple questionnaire. The seller will fill it out according to the actual situation. By explaining how much the sales volume is and whether it is currently on sale, briefly introduce yourself to Shopify. When finished, click Next.
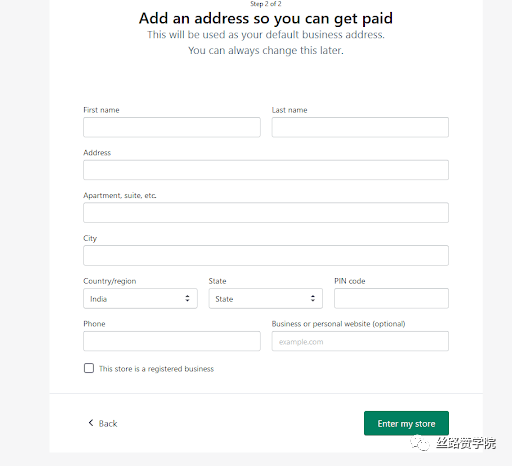
On the next page, you need to enter basic personal information, which will determine the currency and tax rate of the website .
After filling in all the information, click the button on the bottom right to enter my store, and complete all the registration steps here.
◆ Step 2: Choose a theme for your Shopify store
Shopify has its own theme store. These templates are all created by professional designers and there are free and premium themes available. Each theme has a detailed action list panel that can be tweaked without touching a single line of code.
On the other hand, premium themes usually offer more customization and a sleeker look.
In order to find topics that meet your requirements, we have the following suggestions:
Log into Shopify and go to themes.shopify.com to browse the Shopify theme store. There are many themes to choose from, including a certain number of free ones.
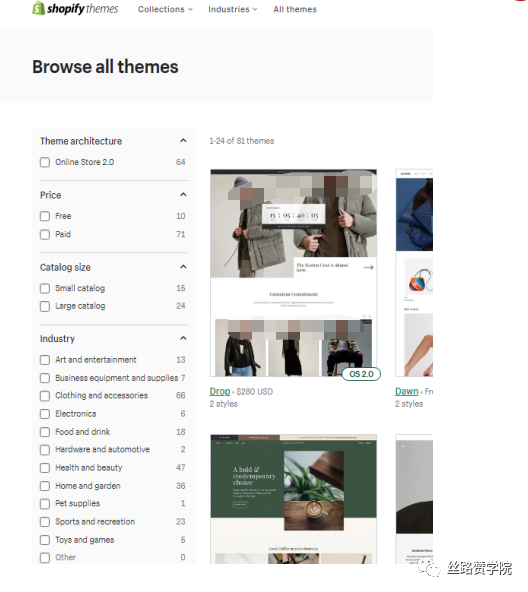
After choosing a theme you like, click the preview image of the theme to get more details about the theme, such as whether it supports responsive/mobile devices, and other features. As you scroll down the page, you can read the reviews and get your thoughts and feedback on the theme.
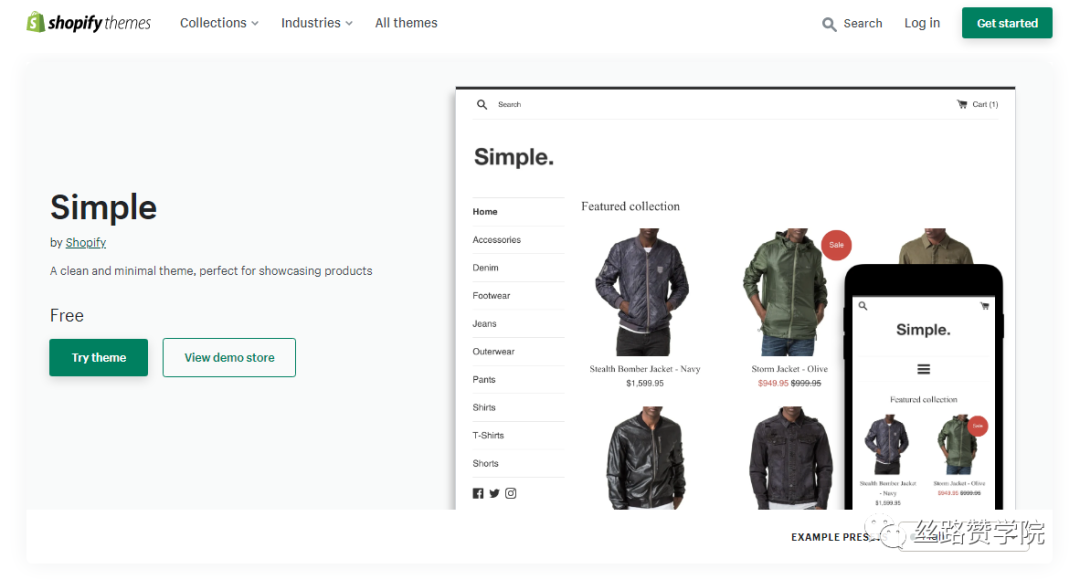
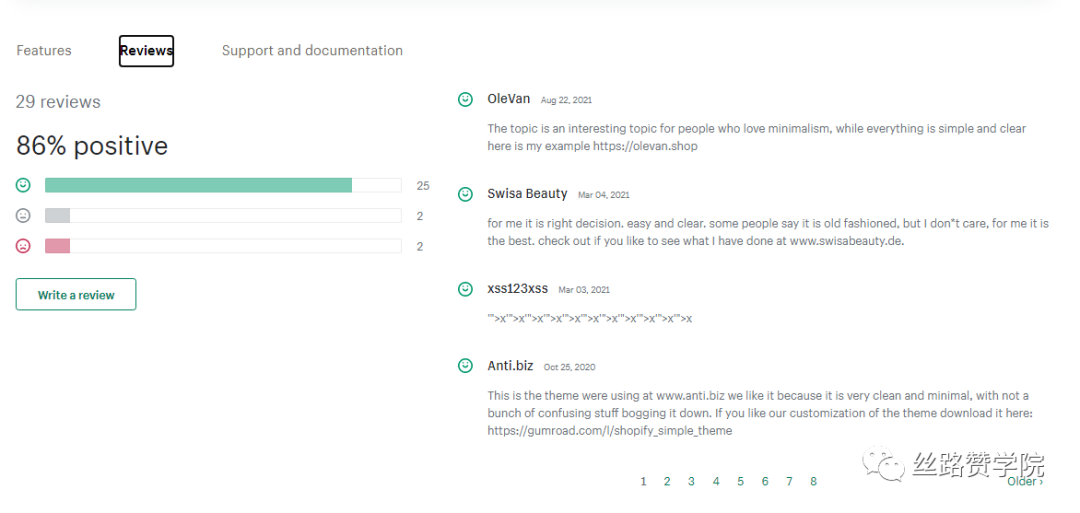
Click View Demo to see the theme in action. If a theme is available in multiple styles, you can choose to view a demo of each style.
After choosing a theme you like, click on the Add Theme icon and Shopify will start the setup, and when you’re done, you’ll be taken to the Shopify Theme Manager.
You can preview your theme from the Actions dropdown in the Current Theme section to get an idea of how your site will look. You can also edit your theme under Theme Library, or select Publish from the Actions drop-down menu in the Theme Library section to replace an existing theme.
If you are not sure about the theme, or if you want to change it, you can modify or change the theme at any time.
◆ Step 3: Shopify store setup
To create a unique website , select a theme from the left navigation menu of the admin panel. On this page, you can see the current theme at the top, with two buttons in the upper right corner. The first one is Actions, for some simple configuration adjustments, such as copying, previewing, etc.
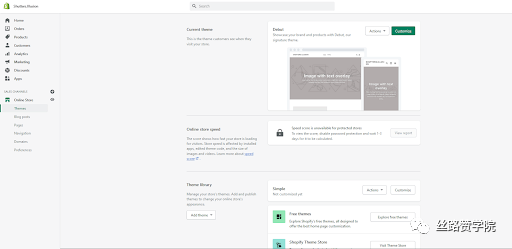
The icon is custom and will lead to the page that manages all the basic functions of the store, such as color scheme, font selection, uploading logo, etc.
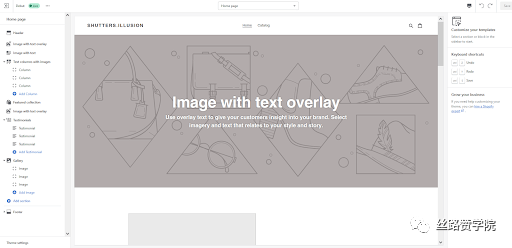
◆ Step 4: Add Products
After joining Shopify, you will be directed to the admin panel of your new website. From here, you can start personalizing your store, add items, and set up payments andlogisticsShipping for consumer use.
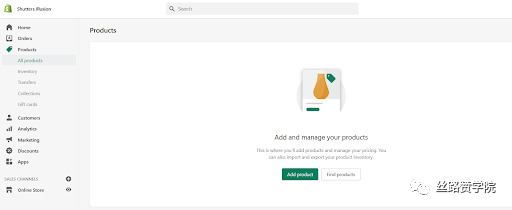
The picture comes from the screenshot of Shopify website
You can also set special instructions such as name, title and URL. Provide as many details as possible so buyers can understand the product.
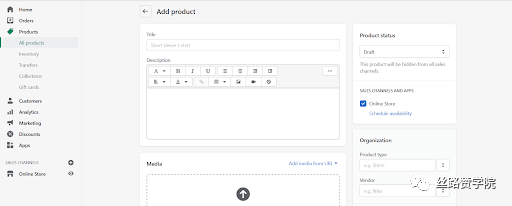
When setting up your store, don’t underestimate the value of website product images.
◆ Step 5: Payment Settings
Payment gateways (Settings > Payments) are able to accept payments from customers through the website. It is worth looking at the pricing and commission rates, it is also important to check what features they have. Payment gateways are not the same.
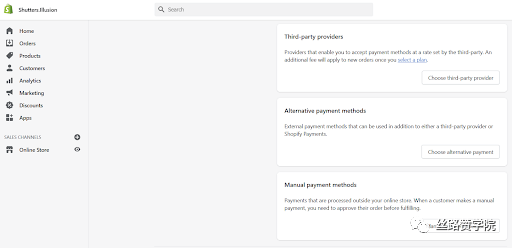
When deciding on the most suitable payment gateway, keep the following factors in mind
1. Transaction fees
Some payment gateways will keep a modest percentage or flat fee (or both) when a customer pays you to allow you to use their services. They can be selected according to the expected sales volume.
2. Bank card
You also need to know the types of cards your chosen payment gateway allows. All accept VISA and MasterCard, and most also accept Amex. Paypal is also popular for online payments.
3. Off-site checkout
Several payment methods will accept payments on their servers. This means the consumer has been removed from your checkout and sent to the payment form provided by your payment gateway. When consumers successfully pay, they will be forwarded to your confirmation page. for greater control over the checkout process.
Payment gateway transaction fees are charged in addition to Shopify’s transaction fees. Depending on your Shopify plan, you may be able to save on these extra costs. Different plans have different fees.
◆ Step 6: Go online
Before the website goes live, more information about the company (and how it plans to deliver and pay taxes) needs to be entered. Go to “Settings” and click “General” to check that all the company’s information is filled in the settings box in the lower left corner.
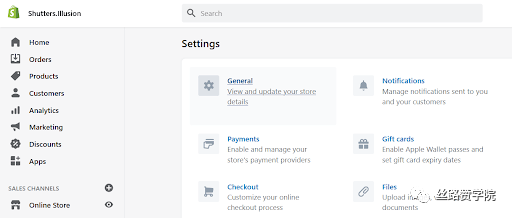
If tax or shipping needs to be included, make sure to check “Charge tax” and “RequireShip’. To avoid missing out on sales, check to see if weight-based shipping is set up.
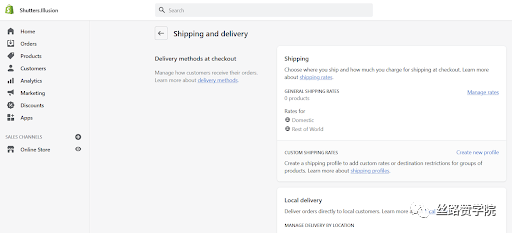
To check that your website system is working properly, you can use Shopify’s Bogus Gateway ( Settings > Payments > Third-Party Payment Providers ) to simulate transactions.

Be sure to install google analytics feature, which is a very important part of tracking store traffic.
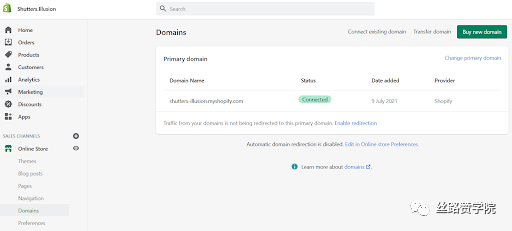
◆ Step 7: Add domain name
Starting a website requires a domain name.
The first way: buy a domain name from Shopify , the domain name will be added to the store immediately, which can save time. Domain names typically cost between $9 and $14 per year.
Second: The option is to purchase from a third-party provider , with fees starting at $10.00 per year.
Disadvantage : It is manual redirection of DNS records, which will be difficult. Multiple domain names can be added according to needs, and the number of domain names will not affect the later SEO.
Store setup complete ! After completing these steps, your shopify website is set up


